


Exhibitor instructions

How to Use the Tagmer Lead Scanner

Capture visitor information at your stand during the event, add notes, and email yourself the latest lead list whenever you need it.

A simple scanner for event-day conversations

Use the lead scanner page provided by the event organizer to scan attendee badge QR codes or barcodes. Each successful scan captures the attendee information shared for your stand and lets you save a follow-up note.

01

Use the 6-character exhibitor access code from your email.

02

Scan with a phone, tablet, or laptop that has a working camera.

03

Send your captured lead list to the exhibitor email at any time.

Tagmer Lead Scanner preview
01

Before the event

Prepare your access and device before the event starts.

  1. Check your email for your exhibitor access code.
  2. Keep the access code available for event day. You will need it to log in to the scanner.
  3. Use a phone, tablet, or laptop with a working camera.
  4. Make sure your browser can access the camera.
02

When you can log in

Your access code is only valid on the date of the event while the event is active. If you try to log in before the event starts or after it ends, the scanner may not allow access.

03

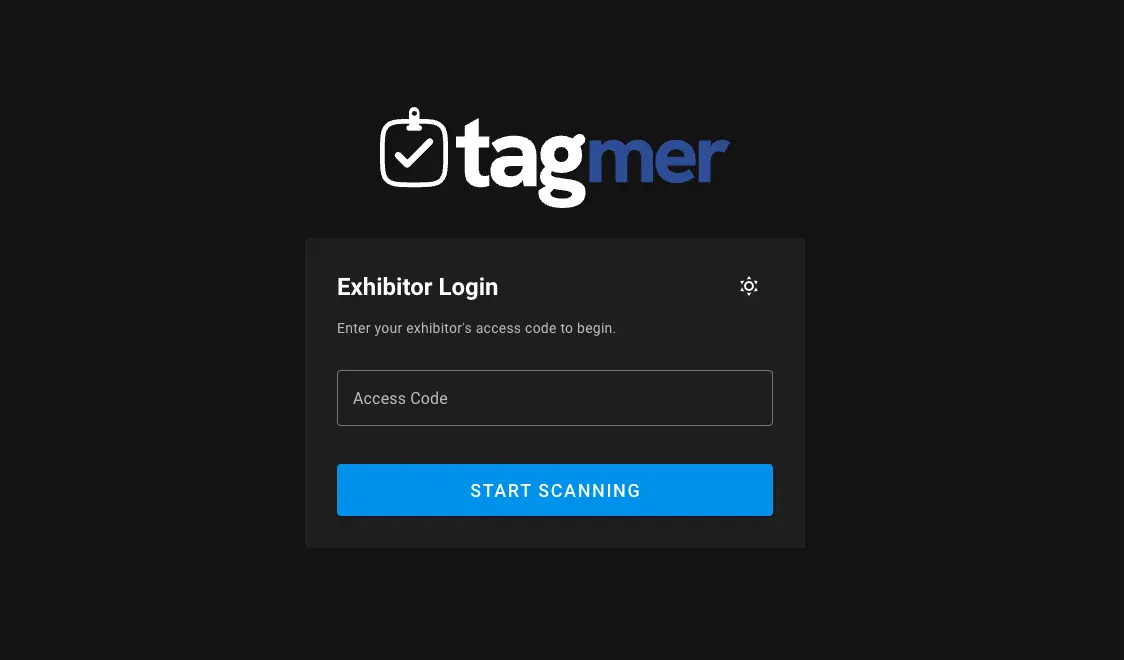
Log in

Use the access code from your email to enter the scanner.

  1. Open the lead scanner page provided by the event organizer.
  2. Enter the 6-character exhibitor access code from your email.
  3. Select Start Scanning.
  4. After login, confirm that the correct exhibitor name is shown on the scan page.
Lead scanner login screen
04

Scan a lead

Scan the attendee badge code when someone visits your stand.

  1. Select Start Scan.
  2. If your browser asks for camera permission, select Allow.
  3. Point the camera at the attendee badge QR code or barcode.
  4. Hold the badge steady until the scanner reads it.
  5. Wait for the scanner to process the code.
05

Save the lead

After a successful scan, the app shows a Lead Captured! window with the attendee information shared for your stand.

  1. Review the captured information.
  2. Add an optional note, such as product interest, follow-up priority, or conversation details.
  3. Select Save to store the lead.

If you select Cancel in the lead window, the note will not be saved for that lead.

06

Scan more leads

After saving a lead, select Start Scan again to capture the next attendee.

07

Receive your lead list by email

At any time during the event, you can request the latest lead list captured for your stand.

  1. Select Leads at the top of the scanner page.
  2. The system sends an email with the leads captured for your stand.
  3. Check the inbox associated with your exhibitor stand. If you do not see the email, check spam or junk mail.
08

If something does not work

Access code does not work
  • Confirm you entered the code exactly as shown in the email.

  • Make sure you are logging in on the event date while the event is active.

  • Contact the event organizer if the code is missing, expired, or still rejected.

Camera access is denied
  • Select the camera icon in your browser address bar.

  • Change camera permission to Allow.

  • Reload the page and try Start Scan again.

Badge does not scan
  • Make sure the badge code is clearly visible.

  • Hold the camera steady and avoid glare.

  • Move the device closer or farther away until the code is in focus.

  • Ask the attendee to show a clean, undamaged badge.

Lead email does not arrive
  • Wait a few minutes and check spam or junk mail.

  • Confirm with the event organizer which email address is connected to your exhibitor stand.

  • Try selecting Leads again after capturing at least one lead.

End of event

Before leaving, select Leads to send yourself the latest captured lead list. You can also log out using the logout icon when you are finished scanning.